
Soulframe weapons and armour: progression, Craftwork and tempers
Updated: 2026-11-19
Summary
- The smith Tuvalkane is unlocked by the fable “The Steelsinger”. Without her you can neither forge gear from fragments nor upgrade weapons.
- Armour is built from fragments that drop from bosses, camps, fables and factions, plus materials. Compare physical and magick armour, stability and the virtue requirement.
- Weapons have six Craftwork tiers: Stock → Military → Officer → Noble → Sovereign → Legendary. Each tier means more damage and more tempers.
- A tier is raised at Tuvalkane for a chordstone (five kinds, from Hushed to Rhapsodic) plus materials that depend on the weapon’s origin.
- Tempers are random weapon properties. Dismantling a weapon lets Tuvalkane study its tempers, and a learned temper can be struck into any level 30 weapon.
- The fastest route to Legendary weapons in the videos is the Cogah elixir from Verminia: the world gets harder and the loot gets better.
This guide is built on popular videos (Preludes 13 and 15) and checked against the game client. Names of tiers, stones, tempers and recipes come from the client; estimates and observations from videos are marked. Damage numbers from Preludes 13 may have changed.
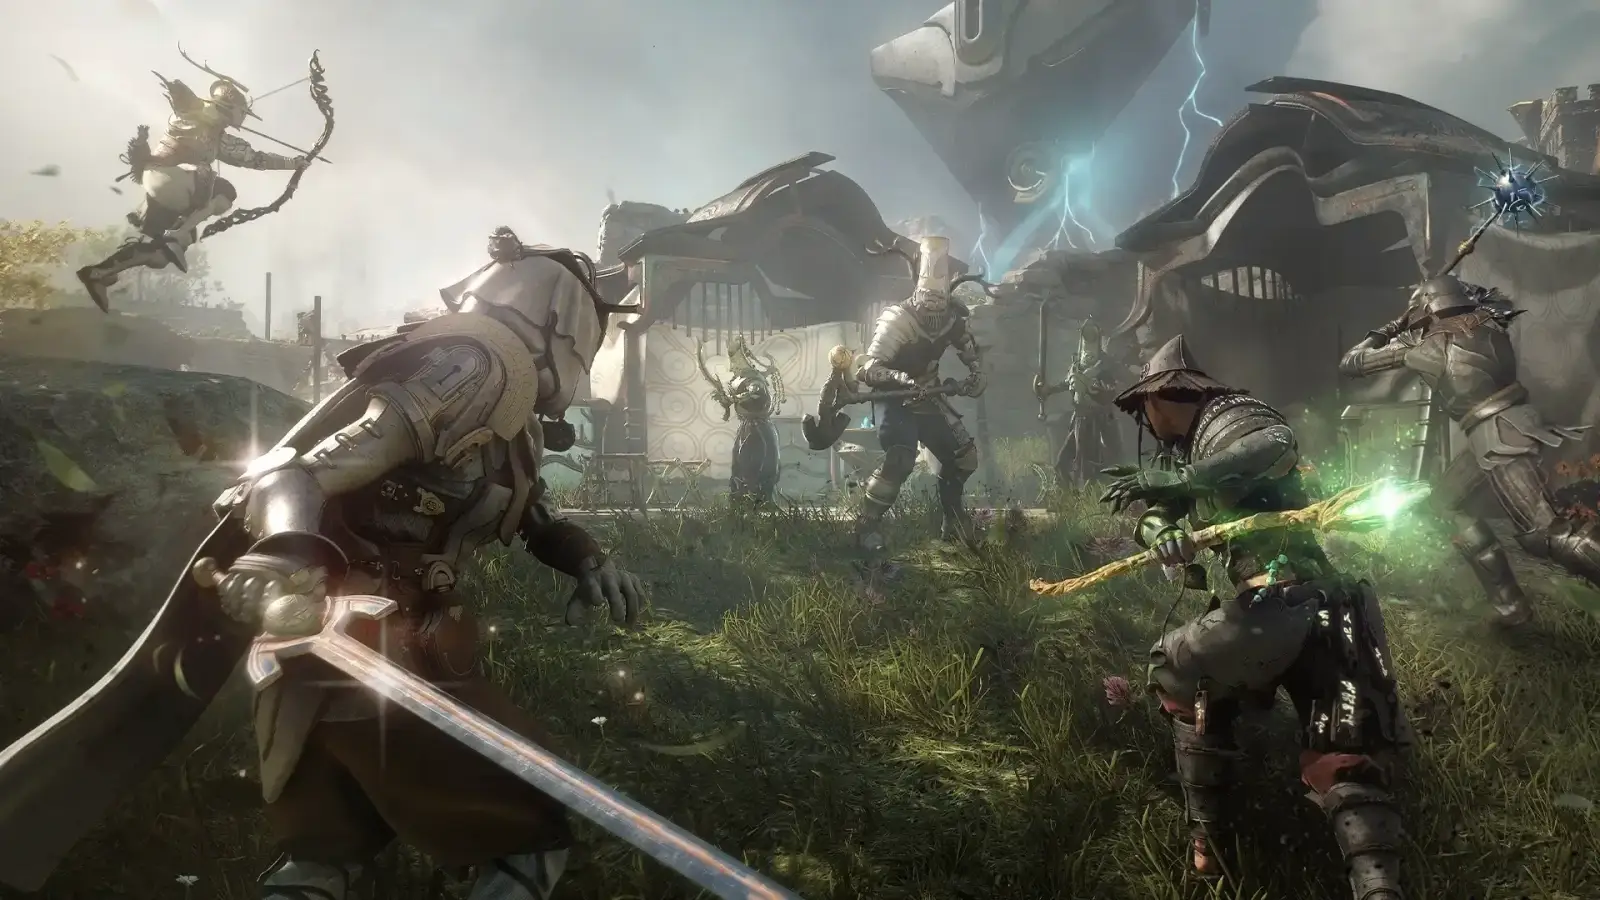
Step 1. Unlock the smith Tuvalkane
All gear in Soulframe goes through one character, the ancestor smith Tuvalkane. She is unlocked by the fable “The Steelsinger”. In the videos it starts at ruins with a well on the east side of the starting area: the ruins are guarded, a Moonsteel helm lies inside, and you carry it to the next marked point. If you lose the trail, send your guiding sparrow in the area where the quest begins. After the fable Tuvalkane moves to the Nightfold, and you work with her from there.
Tuvalkane has several sections: “Forge” to make an item from fragments and materials, “Enhance Craftwork” to raise a weapon tier, “Strike Tempers” to add a learned temper, and “Reforge” to change a weapon’s attunement. Reforging resets the item’s rank to 0, and the game warns you about it. The shop also has “Dismantle”.
Step 2. Armour: fragments, materials, stability
Armour isn’t bought ready-made: you find the item’s fragments and forge it at Tuvalkane with materials. The client lists the fragment sources right in the shop hints: the Mendicant King set from the King himself, the Mockery set from Mockeries, the Orengall, Bromius and Garren sets from their fables, the Fire King and Forgetfire sets from Kith of Kings Favour. The number of fragments depends on the item, so check each piece’s recipe separately.
Armour has three values: physical armour, magick armour and stability (resistance to stagger). For example, Arbearer’s Pauncher gives 7 / 2 / 4, while Oscelda’s Blues gives 3 / 5 / 0: the first stands up to weapon hits, the second to magick. Armour also has a virtue requirement. If your weapon asks for Courage and your armour for Grace, spread your points to meet both thresholds, otherwise one of the bonuses stays off.
 Arbearer's Pauncherphys 7 · magick 2 · stab 4
 Oscelda's Bluesphys 3 · magick 5
 Mendicant King's Suit of Rancorfrom the Mendicant King
 Mockery Bindsfrom Mockeries
All armour with stats in the database
Step 3. Weapons: where they come from
Like armour, weapons can be forged from fragments at Tuvalkane. But since the Preludes 15 rework, weapons often drop ready-made: from regular enemies, chests, bosses, sieges and other activities. A dropped weapon already has random Craftwork and random tempers, so every find is worth comparing with what you’re holding.
The client has 66 weapons across eight types. Below is the weapon with the highest base damage in each type according to client data (without Craftwork tiers or ranks). It isn’t a “best” ranking, just a starting point: within a type, also compare stagger, speed and the virtue requirement.
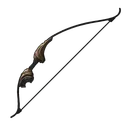 BlitzelBows · damage 47
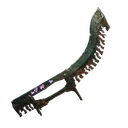 NurashLong blades (swords) · damage 54
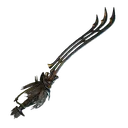 GrimanaShort blades (daggers) · damage 45
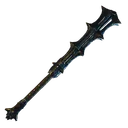 Orst-IIIHeavy weapons (greatswords and maces) · damage 76
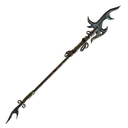 GathannanSpears and polearms · damage 69
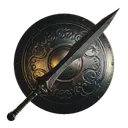 Bog & MyrtleShields · damage 42
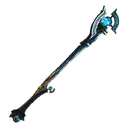 SilistavfMagick (casting weapons) · damage 47
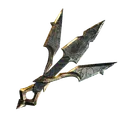 SkílterFlyblades (throwing blades) · damage 33
Weapons by type: damage, stagger and speed compared
Step 4. Craftwork: six tiers
Craftwork is the quality of a specific weapon copy. Two identical swords can have different Craftwork and therefore different damage and number of tempers. The tier order in the client is Stock, Military, Officer, Noble, Sovereign, Legendary. An overview video estimated roughly +4 damage per tier, but that is an observation, not a formula.
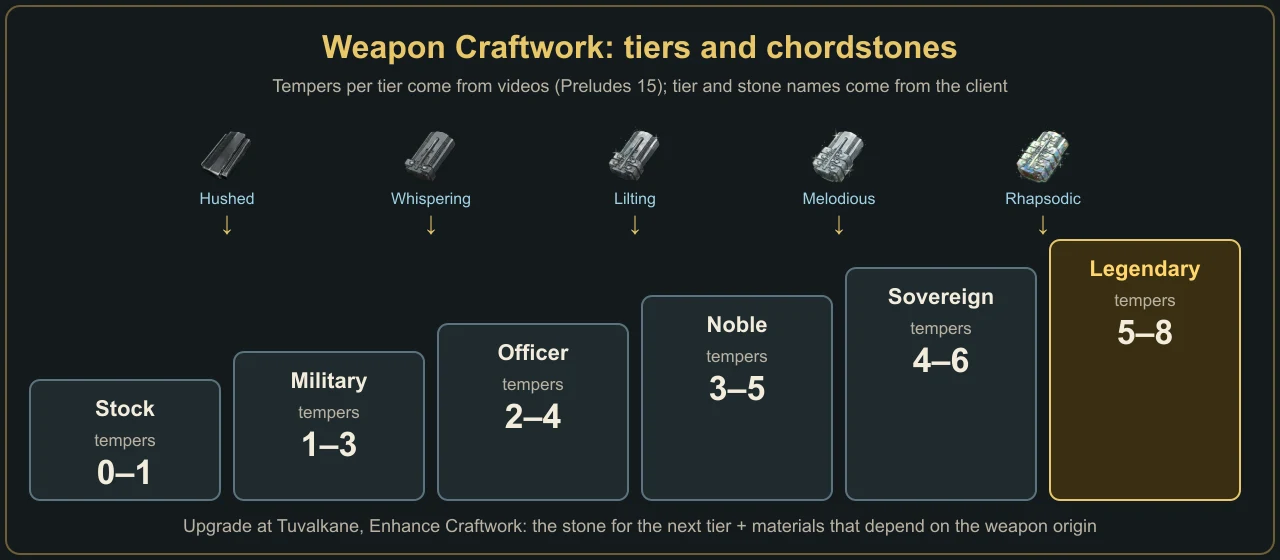
| Tier | Tempers (per videos) | Stone to reach this tier |
|---|---|---|
| Stock | 0–1 | — |
| Military | 1–3 | Hushed Chordstone |
| Officer | 2–4 | Whispering Chordstone |
| Noble | 3–5 | Lilting Chordstone |
| Sovereign | 4–6 | Melodious Chordstone |
| Legendary | 5–8 | Rhapsodic Chordstone |
Step 5. How to raise Craftwork at Tuvalkane
- Bring the weapon to the Nightfold and open Tuvalkane’s “Enhance Craftwork” section.
- Pick the weapon. The game shows the stone for the next tier and the extra materials.
- Materials depend on the weapon’s origin: Dendrit weapons want Dendrit Weave, Ode’n weapons want Ode’n Synsylk, plus a rarer material for the tier.
- Confirm. The weapon moves up a tier: damage goes up and tempers are added.
Example costs from the client. Amounts can differ slightly between weapons (recipes show, for example, both 8 and 13 Gossamer Quartz for the same tier).
| Step | Dendrit weapon | Ode’n weapon |
|---|---|---|
| → Military | Hushed stone + Dendrit Weave × 12 | Hushed stone + Ode’n Synsylk × 12 |
| → Officer | Whispering stone + Weave × 15 + Gossamer Quartz × 8–13 | Whispering stone + Synsylk × 15 + Ode Graphite × 14 |
| → Noble | Lilting stone + Weave × 18 + Sappheline × 6–8 | Lilting stone + Synsylk × 18 + Ichor × 14 |
| → Sovereign | Melodious stone + Weave × 21 + Quartz × 10 + Sappheline × 7 | Melodious stone + Synsylk × 21 + Ichor × 18 + Corrupt Onyx × 14 |
| → Legendary | Rhapsodic stone + Weave × 30 + Moranite × 12 + River Pearl × 12 | Rhapsodic stone + Synsylk × 30 + Silistyt × 14 + Petrified Ichor × 10 |
Chordstones: what they are made of
Stones are forged too, and each higher stone is made from the one below. That makes the Rhapsodic stone the most expensive: it consumes 4 Melodious, which means 8 Lilting and as many Whispering stones. Lampyrites are sold by Avakot in purses and crates.
| Stone | Recipe (client) |
|---|---|
| Hushed | Whisprig × 10, Scrap Iron × 20 (crate: × 45 and × 90) |
| Whispering | Whisprig × 15, Scrap Steel × 20, Quenching Acid × 7 |
| Lilting | Whispering stone × 1, Whisprig × 20, Quenching Acid × 9, Glow Lampyrite × 4 |
| Melodious | Lilting stone × 2, Knotwood × 15, Quenching Acid × 12, Amber Lampyrite × 5 |
| Rhapsodic | Melodious stone × 4, Knotwood × 20, Quenching Acid × 20, Faer Lampyrite × 7 |
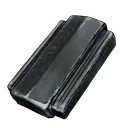 Hushed Chordstone→ Military
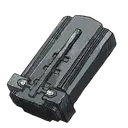 Whispering Chordstone→ Officer
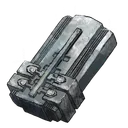 Lilting Chordstone→ Noble
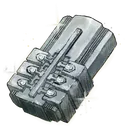 Melodious Chordstone→ Sovereign
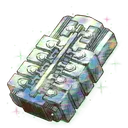 Rhapsodic Chordstone→ Legendary
The client also has a Chaos Chordstone. Its description warns that it completely resets a weapon with unique tempers and Craftwork. Don’t use it on a weapon you are happy with.
Step 6. Tempers: what to keep
A temper is a weapon property such as “more heavy attack damage” or “chance to set on fire”. A dropped weapon gets random tempers when you pick it up, a forged one when it is made. Some tempers can appear on any weapon, others only on weapons of a certain grip or origin. Per the videos, raising a tier usually adds at least two random tempers up to the tier’s maximum, and going from Sovereign to Legendary fills all eight slots.
A shiny temper is marked by a shimmering frame and a star next to its name. Per the videos it is twice as strong as a normal one and takes two slots of the total limit.
Studying and striking tempers
In the Preludes 15 videos temper customisation was only promised. In the current client it is already described in the guidebook: dismantling a weapon lets Tuvalkane study its tempers, and she can strike a learned temper into any level 30 weapon; the interface asks you to choose a temper to replace. The higher the Craftwork, the more tempers can be struck. Practical takeaway: don’t sell a weapon with a rare temper right away, dismantle it at Tuvalkane first. Moonsteel weapons can’t be dismantled (the client has a “Moonsteel Dismantle Disabled” rule).
Which tempers suit which style
There is no universal list of “best” tempers: the strong one is the one that boosts the attacks you use most. Names and effects come from the client, assessments from a detailed Preludes 15 video.
| Style | Tempers | What to keep in mind |
|---|---|---|
| Heavy attacks | Full Force, Arcane Barrage, Breakneck, Arcane Alacrity | the first two raise heavy damage and stagger, the other two speed up the charge |
| Parry and counter | Vengeance, Heightened Parry, Fortified | Vengeance boosts ripostes; wider parry window; less stagger when blocking |
| Dodge and jumps | Rejoinder, From Above, Bounding Swipe | damage of dodge, aerial and sprint attacks; take them only if that is how you play |
| Bow | Quick Draw, Rupture | per the videos small splinters often fail to get through armour, so Rupture isn’t universal |
| Damage over time | Aftershock, Enkindled, Savagery, Sickness | keeps ticking after a weapon swap; per the videos Enkindled also strips armour |
| Against armour | Bypass | lowers enemy defence on the first hit; armour subtracts damage flatly, so this matters for light hits |
| Stagger | Swooning Blow, Cowp, Galvanic Strike, Slinger’s Tempo | worth it if you finish staggered foes; Slinger’s Tempo turns stagger into knockdown |
| Survival | Hunter’s Relish, Renewed Slayer, Hale and Hearty | healing on attack and on kill; Hale and Hearty isn’t a heal but damage at full Life; the video rated Renewed Slayer as weak |
A simple filter from the video: Stock with one temper you want or Military with two useful ones can be cheaply raised to Officer to see what rolls. Above Noble be stricter: upgrade costs climb fast and new tempers stay random. And don’t throw away a Sovereign weapon with good tempers: it is one tier from Legendary.
Step 7. Where to farm Legendary weapons
In the videos high-Craftwork items most often came from high-level sieges, camps, dungeons, rare chests, bosses and bannerets. But the main tip is the Cogah.
The Cogah elixir
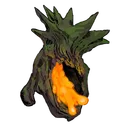
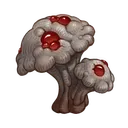
The Cogah is a ritual elixir drunk before battle. Per the videos it takes you into a harder world: stronger enemies, better loot. To brew it, the videos say you need bond rank 2 with Verminia and her quest “A Witch Withdrawn”. The client recipe: Wevetwood Sap × 8 and Agaric × 3. The sap is gathered from glowing Wevetwood trees, and in the client data Agaric drops from an elite Sinecure officer. When it wears off, the game tells you “The Cogah is complete”.
- The stakes are high: per the videos one death ends the run and sends you back to the Nightfold.
- Killing Agari during the Cogah raises enemy level. Decide in advance whether you want that difficulty.
- Go as a group: the video recommends recruiting through the recruiting chat. Loot is per player: an ally picking up an item takes nothing from you, and type and Craftwork differ for everyone.
- In the Dermak Undercity check weapon racks, chests and bosses.
One more lever is the “Superior Craftsmanship” boon: per the client it raises the chance of finding higher-quality items for a few hours.
Moonsteel and stars
A silver vine on the weapon card marks a Moonsteel variant. The video put the drop chance at about 0.1% or lower, but that is a community estimate, not game data. Stars on the card are a separate trait, not Craftwork; compare them only within one weapon type and one tier.
How damage works (Preludes 13)
This section relies on a detailed Preludes 13 video. After the Preludes 15 rework the formulas may have changed, so use it to understand the principles, not as a calculator.
- On the card, separate the weapon’s base damage from the bonus: rank, joinery and pact passives are added on top.
- By rank 30 a weapon gained +24 damage in Preludes 13.
- The virtue bonus only turns on after the requirement is met. A two-virtue weapon without its requirement met gets no bonus even from a well-built second virtue.
- One pip of virtue scaling gave 0.5 damage per point in Preludes 13: three Spirit pips meant 1.5 damage per Spirit point.
- In Preludes 13 Grace raised the headshot multiplier for any weapon, and weapons with native Grace got another 0.3 damage per point.
- A virtue elixir helped meet a requirement temporarily: +10 for 60 minutes.
Joinery (in the client: Ferrite, Gildaur, Quicksilver, Feybalt, Verite blessed by Mora, Iridis or Saphene) is sold by Avakot. Per the video a blessed joinery adds one pip of the chosen virtue. The reviewer’s advice: it pays more to strengthen the virtue the weapon already has than to add a single pip of a new one.
Common mistakes
- Confusing stars with Craftwork and dropping a Sovereign weapon for a “starry” Military one.
- Spending a Rhapsodic stone on a weapon with weak tempers: it costs four Melodious stones.
- Selling a weapon with a rare temper without dismantling it at Tuvalkane.
- Taking “top list” tempers regardless of style: Rejoinder is useless if you don’t attack after dodging.
- Wearing armour with an unmet virtue requirement and wondering why the bonus is off.
- Drinking the Cogah solo without healing to spare: one death and the run is over.
Checklist
- Complete “The Steelsinger” and move Tuvalkane to the Nightfold.
- Build an armour set for your virtue and check all three values.
- Pick a weapon of your type and check its virtue requirement.
- Raise Craftwork step by step, stockpiling stones and origin materials in advance.
- Dismantle weapons with rare tempers, then strike the ones you want into a level 30 weapon.
- For Legendary weapons: Verminia bond 2, “A Witch Withdrawn”, the Cogah in a group.
Useful pages
- All weapons in the database
- Weapons by type
- All armour
- Materials and where to get them
- Crafting and recipes
- Weapon runes
- Factions: virtue prisms and armour sets
- World bosses: where to get fragments
Bottom line
Gear progression in Soulframe revolves around Tuvalkane’s forge: fragments become armour, chordstones raise Craftwork, and dismantling plus striking let you assemble the tempers you want. Match your weapon to your virtue, don’t burn expensive stones on weak copies, and farm Legendaries in the Cogah with a group.
Sources
- Game client text: forge, Craftwork tiers, tempers, stone and upgrade recipes (Russian and English localization)
- Popular YouTube videos on the topic (reviewed 19 Nov 2026; Preludes 13 and 15)
- Official Soulframe site (screenshot)