
Soulframe world bosses: farm route and drops
Updated: 2026-11-19
Summary
- World bosses (Agari in the client) stand in Midrath’s open world. Our map shows 9 boss markers from the client; Mendicant King and Etheldred The Weaver are identified for certain.
- Before farming, complete the fable “The Waste Bear”: according to both videos Kabocha and Wraith of Wastes don’t appear without it.
- Farming means a loop through all bosses in a row. In the Preludes 11 video a full loop took about 35 minutes, and the boss respawn timer was about 3 hours.
- Bosses drop weapon and armour fragments, runes and joinery. Exact drop rates exist neither in the client nor in the videos.
- A comfortable group is up to three players: both videos suggest that.
Routes and loot lists come from popular videos for Preludes 11 and 12. Since then the map, timers and loot tables may have changed, so we say which version each observation is from. Boss names come from the game client.
What world bosses are
A world boss is a beefed-up enemy with its own arena in the open world rather than in a dungeon. The client calls these foes Agari and grants a separate title for each one, for example “Defeat the ‘Etheldred The Weaver’ Agari”. Bosses respawn on a timer, so you can loop through them and collect gear fragments. The client stores sub-boss markers on the world map, and those are what our map shows.

Why not all are labelled: in the level data a marker carries no boss name. The Mendicant King is given away by the bell and his encounter point next to the marker, Etheldred by the spider nest in the sinkhole. We leave the other markers unlabelled rather than guess.
Preparation
- Complete the fable “The Waste Bear”. This requirement is shared by both videos.
- Form a group of up to three through the recruiting chat. Not required, but boss fights are noticeably easier in a group.
- Bring a weapon that can parry heavy hits, or keep your distance: several bosses hit hard up close.
- Brew Cloudquell for the Discharged Nimrod (recipe below).
- Unlock fast travel points and a pact with faster movement if you have one: the video suggested Orengall for the long trek north.
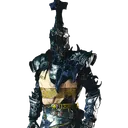 Mendicant Kingsouth-west, the bell
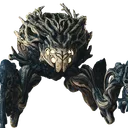 Etheldred The Weaversinkhole in Airde Limbwoods
 Knell Knightring of spikes
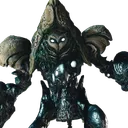 Kabochaafter “The Waste Bear”
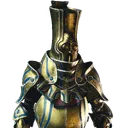 Sinecure-Errant Gawthruins near the sinkhole
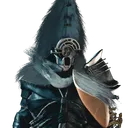 Gruulseeker Ruthosnorthern corner
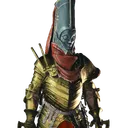 Castellan MalrogFort Kearnhold siege
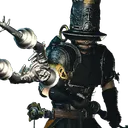 Discharged Nimrodlightning, Cloudquell
 Wraith of Wastesafter “The Waste Bear”
Bosses in route order
The order below is the direct route from the Preludes 11 video: from the north through the centre to the south-west. The Preludes 12 video ran the same loop in reverse, from the Mendicant King northwards. Pick the direction based on where you are now.
1. Etheldred The Weaver
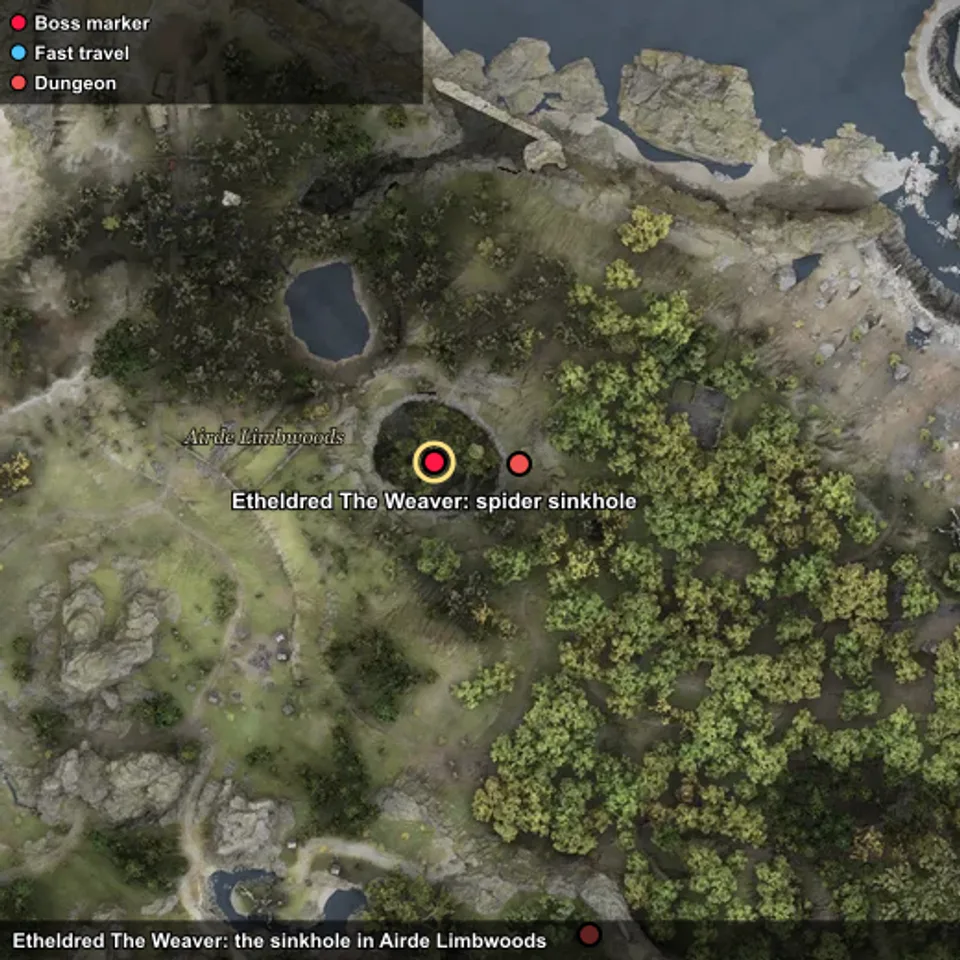
The spider matriarch lives on a platform in a sinkhole in Airde Limbwoods. The Preludes 11 reviewer preferred melee with health regain: up close she uses fewer ranged attacks, and regain keeps you standing. Per the videos she drops Witan fragments, a rune and Quicksilver joinery; in Preludes 12 the list was different (Vetch, Virdigris and a short-blade rune).
2. Sinecure-Errant Gawth
Near the sinkhole, in the neighbouring ruins. In Preludes 11 a regular banneret sometimes stood here instead of the real boss, and the reviewer suggested skipping the point if short on time. By Preludes 12 it was a normal boss; that video’s list gives Grinn, Unsula and a shield rune.
3. Knell Knight
A Mendicant knight in a corrupted area. The key rule: don’t touch the ring of spikes around him; it deals damage and staggers. In Preludes 11 he seemed to drop Witan fragments more often than others; in Preludes 12 the list was Bog & Myrtle, Nettle and the Everflame long-blade rune.
4. Kabocha
A huge corrupted Sproutfolk to the south, in the Wevetwood. He only appears after “The Waste Bear”. While spinning he shrugs off most ranged attacks: wait it out or use crowd control he is vulnerable to. Both videos agree he drops Arbearer armour fragments and the Marrow’s Bane sword. Preludes 12 added the Torcheternal spear rune.
5. Thrice-bound Impidh
A Mockery in ruins to the east. It hits very hard: keep your distance or bring a weapon that can parry heavy blows. Both videos name Mockery armour here (Mockery Binds and Ilk); the client confirms that Mockeries drop fragments of this set. The Preludes 11 reviewer expected Ferrite joinery but never got it.
6. Gruulseeker Ruthos
The farthest point, in the northern corner of the map. If you don’t need his loot, the Preludes 11 video suggested skipping him to save time. Per the videos: Grinn, Blitzel, Unsula or Skílter and the Alca’s Breath bow rune.
7. Fort Kearnhold siege and Castellan Malrog
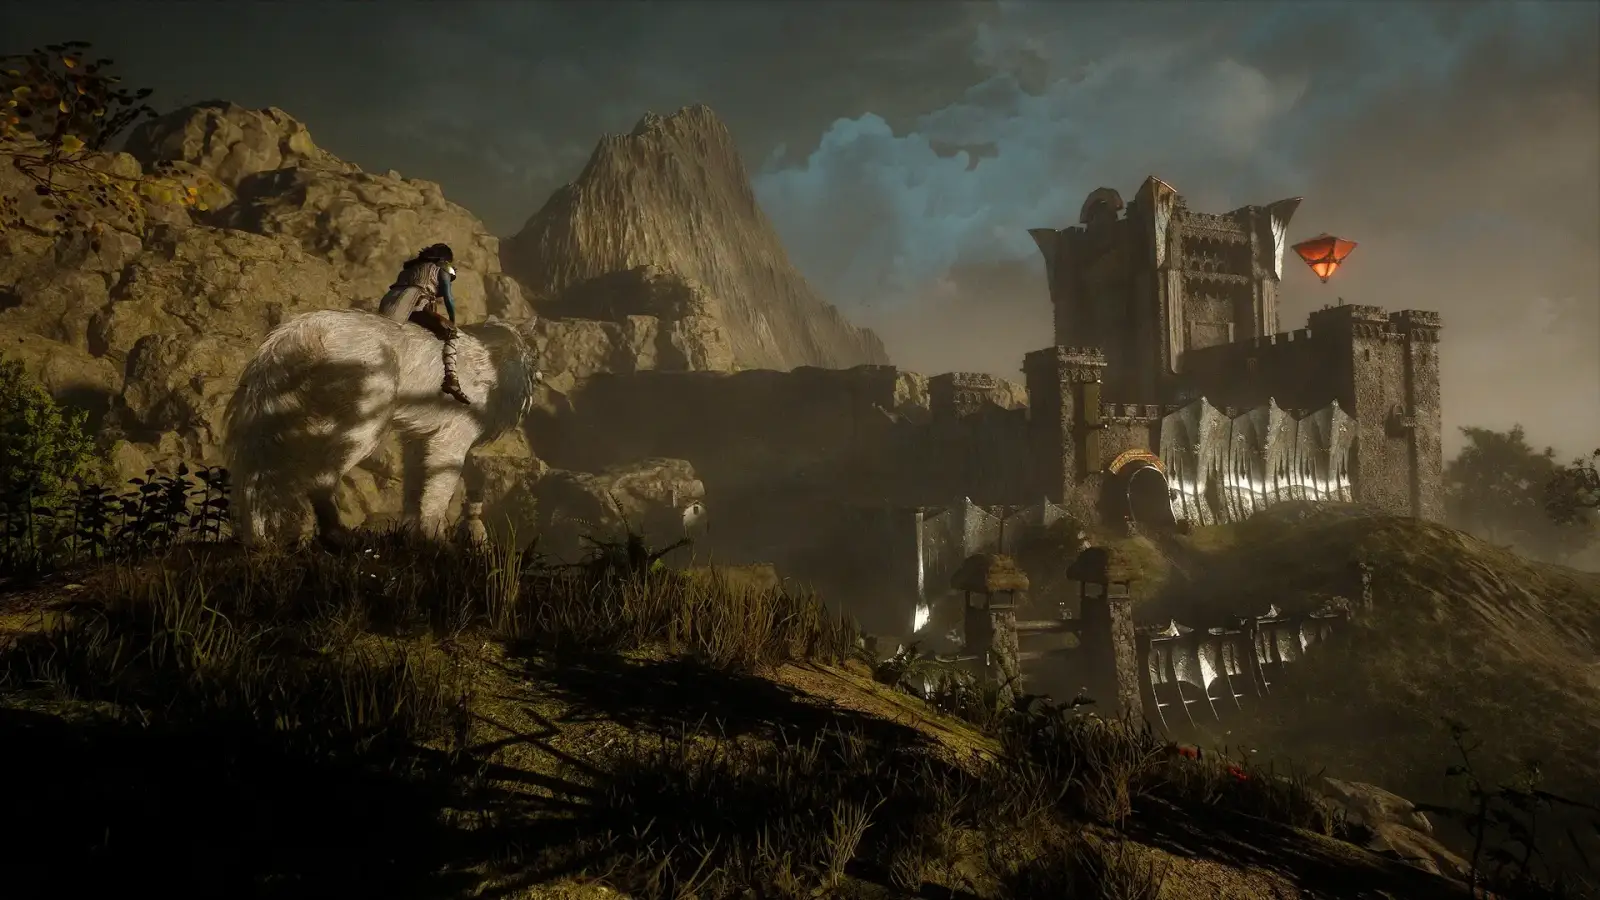
In the Preludes 11 route you reached the fort through a crypt: the exit was described as coming out next to the fortress. The siege has three stages.
- Kill the banneret on the outer platform: that opens the side door.
- In the inner yard take out the archers first if they bother you, then the second banneret, and lower the ladder.
- Climb up, clear the platform and bring down the balloon: Castellan Malrog arrives.
The client has Agari bannerets for sieges (Anara, Toshtan, Kylst) and a balloon objective, “Intercept the runaway scrivener”, so the layout resembles the video. Check the exact stage order at Fort Kearnhold in game. In Preludes 11 the Castellan dropped fragments of the Dewelion long blade. The Preludes 12 list doesn’t include the siege.
8. Discharged Nimrod
An area of lightning strikes south-east of the fort. Three mechanics to watch:
- He raises his arm: an aimed lightning strike is coming, dodge.
- He takes off and the circle on you shrinks: get ready to move, the attack homes in and staggers over a wide area.
- Lightning hits Nimrod himself: he starts to heal over time.
Per the Preludes 11 video Cloudquell interrupts and prevents all three mechanics. The client confirms the link: one of Verminia’s quest steps reads “With Cloudquell in hand, seek the Nimrod”. The client recipe: Weepin’ Dris × 10, Toe of Ode × 6, Brinefloss × 10. Per the videos Nimrod drops Unsula, Odiac, Grinn and a flyblade rune.
9. Wraith of Wastes
Another Mendicant boss in a corrupted area, also only after “The Waste Bear”. At some point he breaks into a swarm of spiders: destroy the wave and he reforms into the boss. To charge a rune with Smite, the video used regular enemies in small ruins nearby. Both videos name the Erstroot staff and the Archstorm rune here; check the rune card to see which weapon your drop fits.
10. Mendicant King
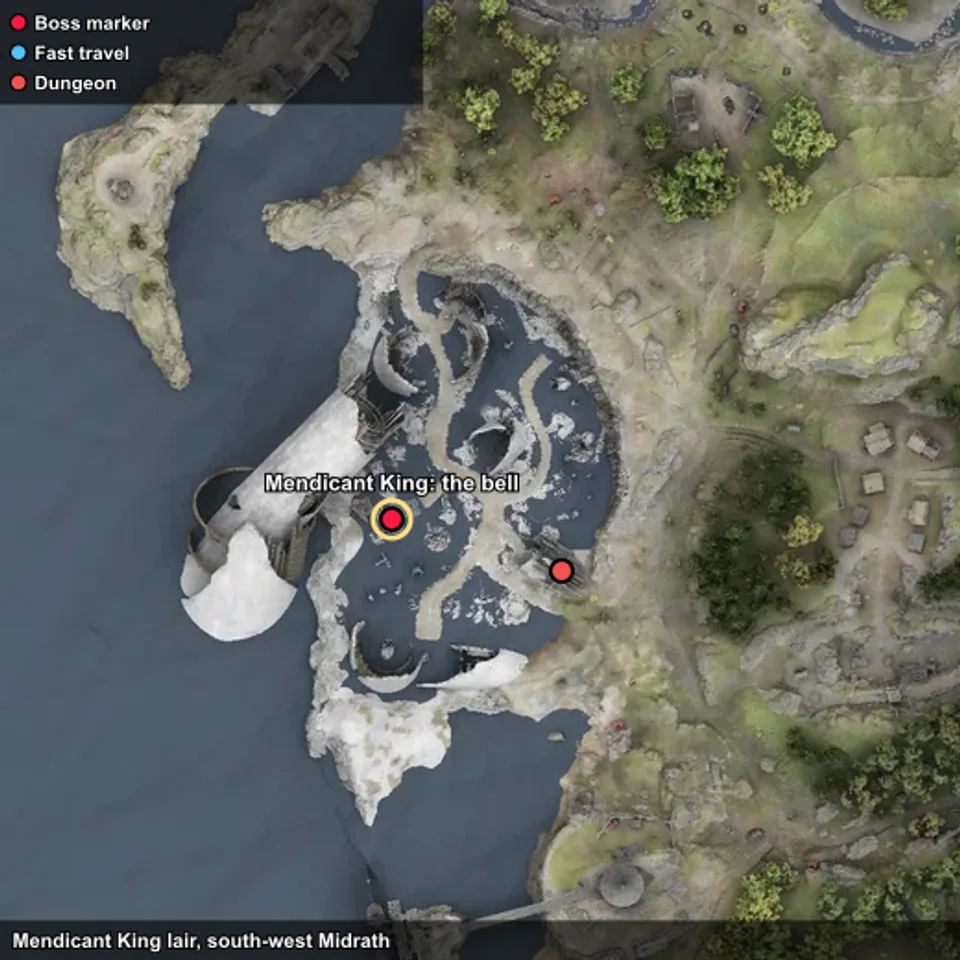
The last point of the direct route is in the south-west of the map. The fight starts when you strike the bell. The King’s retinue respawns after being killed, so don’t spread yourself thin: hit the King himself. When a white line stretches from the boss to your character, get ready to dodge sludge waves: repeated waves can keep you stunned and open to attacks. The client states outright that Mendicant King set fragments come from defeating him; both videos name pieces of that set, and Preludes 12 also lists the Everflame rune for heavy weapons.
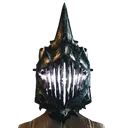 Bascinet of The Mendicant Kingfragments from the King
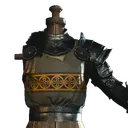 Mendicant King's Suit of Rancorfragments from the King
Loot: summary table
The table merges two videos. Items both mention are more reliable; single mentions are a pointer. The client doesn’t store loot tables, so there are no drop rates here.
| Boss | Both videos agree | Mentioned once |
|---|---|---|
| Etheldred The Weaver | — | Witan, Vetch, Virdigris, Quicksilver (joinery), runes |
| Sinecure-Errant Gawth | — | Grinn, Unsula, shield rune |
| Knell Knight | — | Witan, Bog & Myrtle, Nettle, Everflame |
| Kabocha | Arbearer armour, Marrow’s Bane | Torcheternal (spear rune) |
| Thrice-bound Impidh | Mockery armour | Ferrite (joinery) |
| Gruulseeker Ruthos | Grinn, Blitzel | Unsula, Skílter, Alca’s Breath |
| Castellan Malrog | — | Dewelion |
| Discharged Nimrod | — | Unsula, Odiac, Grinn, flyblade rune |
| Wraith of Wastes | Erstroot, Archstorm (rune) | — |
| Mendicant King | Mendicant King set (confirmed by the client) | Everflame for heavy weapons |
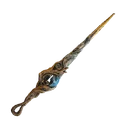 Witanboss fragments
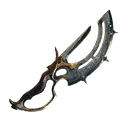 Unsulaboss fragments
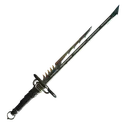 Grinnboss fragments
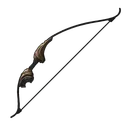 Blitzelboss fragments
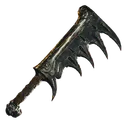 Marrow's Baneboss fragments
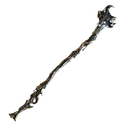 The Erstrootboss fragments
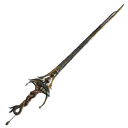 Dewelionboss fragments
 Odiacboss fragments
Runes with the same name can come in versions for different weapon types. Before celebrating a drop, check on the rune card which weapon it fits.
How to shorten the loop
The full loop in the Preludes 11 video took about 35 minutes including the siege. Not every point is needed every time; below is which legs of the route you can drop without losing much.
| Leg | Bosses | Skippable? |
|---|---|---|
| North and centre | Etheldred The Weaver, Sinecure-Errant Gawth, Knell Knight | Gawth, if a banneret stands in his place (Preludes 11) |
| Forest and ruins | Kabocha, Thrice-bound Impidh | no: both give armour |
| Far north | Gruulseeker Ruthos | yes, unless you need Blitzel and the bow rune |
| Fort | Castellan Malrog | yes, unless you need Dewelion: the siege is the longest stage |
| South and south-west | Discharged Nimrod, Wraith of Wastes, Mendicant King | no: the staff, runes and the King’s set are here |
On a short evening, run the loop without the far north and the fort: the main armour and the staff stay on the route, while the longest treks and the siege drop out. A full loop makes sense when you are collecting a specific long blade or bow.
Boss titles
For defeating each Agari the client grants a separate title. This is a handy way to track which bosses you have not met yet: open the title list and see which ones are missing. For collectors it is also a reason to run the full loop at least once, including the fort siege and the far north.
FAQ
- Can you kill bosses solo? Yes, but it is slower and riskier. Per the videos the most trouble comes from the Thrice-bound Impidh (heavy hits up close) and Discharged Nimrod without Cloudquell.
- Is loot shared in a group? Per the videos, no: everyone gets their own, so a group takes nothing away from you.
- Why is the boss missing? Either someone killed it recently and the timer is still running, or a spawn requirement is not met, as with Kabocha and the Wraith of Wastes.
- What about spare fragments? First assemble the item of the type you need, then invest in the Craftwork of your favourite weapon (details in the weapons guide).
Farming tips
- Start with the boss nearest to you and go around the loop rather than down the list: the reverse route is just as good.
- Skip points whose loot you don’t need. The far north eats the most time.
- Note the kill time: with a timer of about three hours (Preludes 11) a second loop only makes sense three hours after the first.
- To charge runes, stay near regular enemies by the arena: Smite builds up on them too.
- In a group everyone gets their own loot, so there is nothing to share.
- For even better loot try a loop under the Cogah elixir (see the weapons guide), but remember: one death ends the run.
Common mistakes
- Looking for Kabocha and Wraith of Wastes before finishing “The Waste Bear”.
- Standing in the Knell Knight’s ring of spikes.
- Wasting time on the Mendicant King’s retinue: it respawns.
- Ignoring lightning hitting Nimrod: he heals back and the fight drags on.
- Treating video loot lists as complete tables: they are personal observations and changed between versions.
Pre-loop checklist
- “The Waste Bear” completed.
- A group of up to three (recommended).
- Cloudquell for Nimrod.
- A parrying weapon or ranged option for the Thrice-bound Impidh.
- Fast travel points unlocked near the north and south-west.
- You know which fragments you need and skip the rest.
Useful pages
- Midrath map: boss markers, dungeons, chests
- Bestiary: all enemies
- Enemies in the database
- Weapons and armour: Craftwork, tempers, Cogah
- Runes: how to charge and use them
- Fast travel
Bottom line
World boss farming is a loop of nine or ten points that takes 30–40 minutes. Unlock “The Waste Bear” first, then decide which fragments you need and route from the nearest boss. Watch the mechanics of the Knell Knight, Nimrod and the Mendicant King, and verify the video numbers in your game version.
Sources
- Game client data: enemies, Agari kill titles, boss markers and level objects, recipes
- Popular YouTube videos on the topic (reviewed 19 Nov 2026; Preludes 11 and 12)
- Official Soulframe site (screenshot)